Creating my own Digital Picture Frame
Some time ago I was at friend place, software engineer like most Silicon Valley inhabitants, and I've noticed that one of his picture frames was "different": the pictures were changing !!!
I had to get one too. There are a few commercial models available but they were expensive (at least $300), often tiny, and almost always ugly, or hi-tech looking like a GameBoy Color.
One of the issues with the home made digital picture frames is that the hard drive is always on and making noises. So I decided to install a wireless card, so the pictures will be loaded from a server while the system drive can go to sleep after booting.
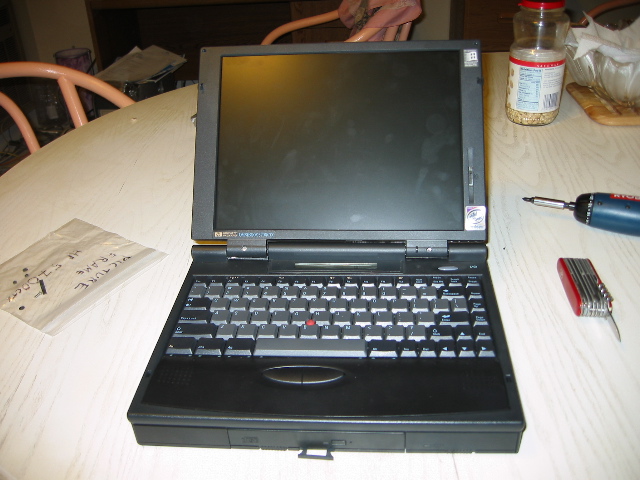
I got my hands on a broken laptop but with a perfect screen and so I started my project:
Material:
Total Cost: about $50.
This is the old machine, ready for a new life:
Pentium 166, 64MB RAM, 3GB HD, and 1024x768 16bits (thousand de colors) screen.
One issue with the screen is that it's only displaying thousand colors, which generate banding on gradient colors. The solution is to use a slideshow software that can do dithering.
I strongly advise to work on the software part first, as once apart it's not as easy to install the OS (still possible). I also recommend on installing a network card with VNC server if using Windows or Mac, or ssh if using Linux/BSD. It also allows to fine tune later on.
Putting everything is the easy part. I recommend on noting where the components are going and use you digital camera.
It's all apart now, I only kept the useful componments: screen, motherboard, video controler.
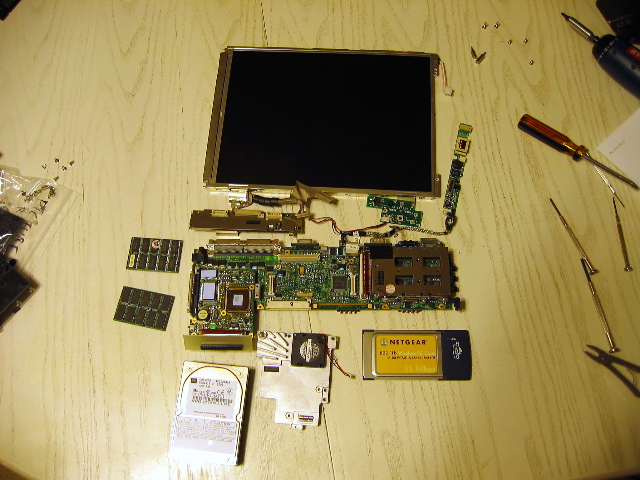
I put those components together to check they were still working ... good.
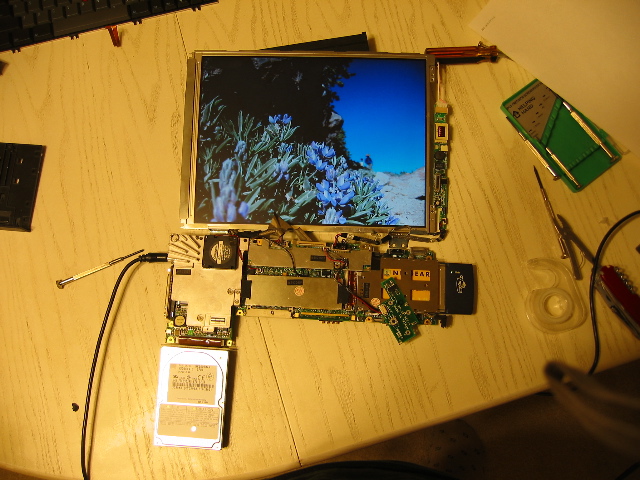
Next step was to put the screen in place. I used cardboard to avoid shortcutting the motherboard.
I used a glue gun for the screen, but some heavy duty double sided sticky tape for the hard drive and the mother board.
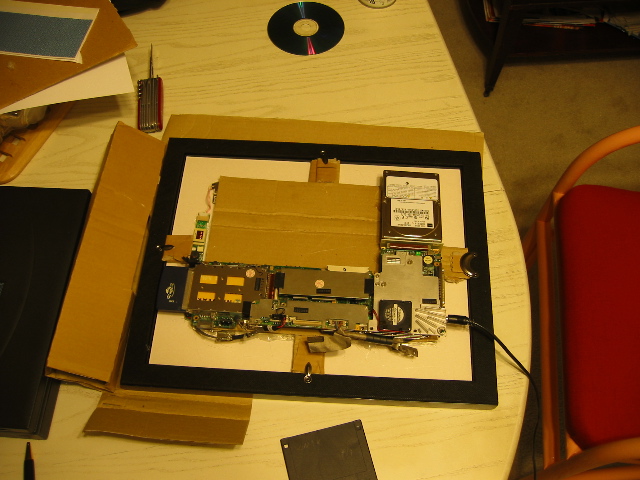
It does not seem very strong but it holds.
I've even been able to reboot on rescue floppies to fix a few issues. No need to do a windows update, this machine will not surf the web or receive emails.

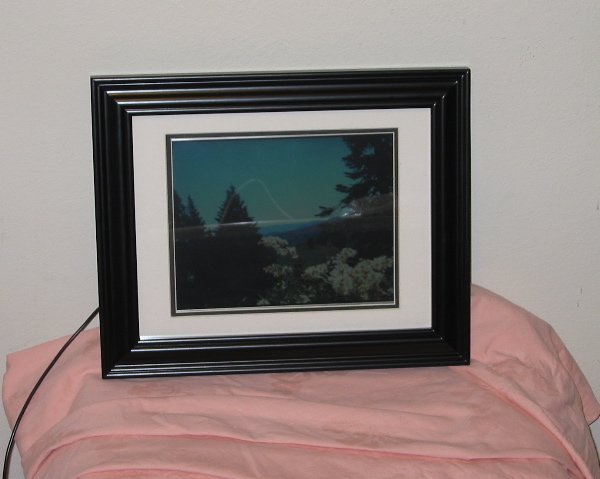
That's a partial result, it still need a case on the back.
4 boards stapled together, painted in black, a few holes for airflow and the power cable, and voila.


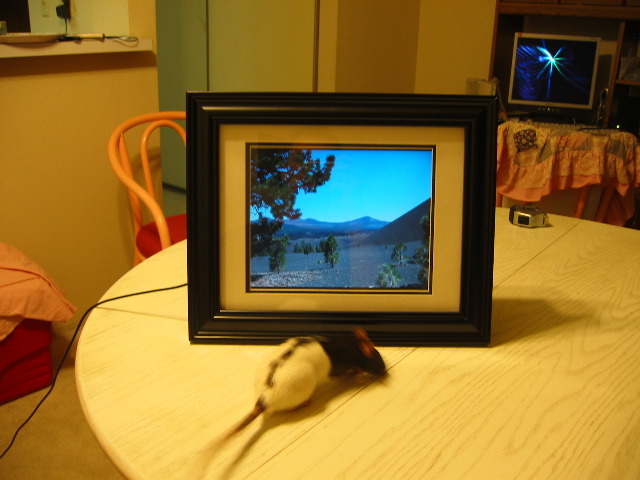
Even my rat loves my vacation pictures :-)
I just need to hide this big power cable, or find a new wireless power supply ;-)
Please send comments to: stephane@odul.com
Please see my new project: IrisFrame